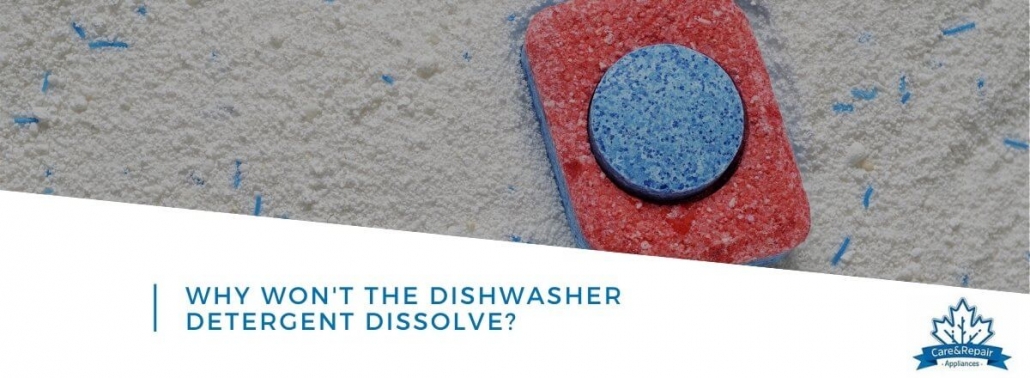
Why Won’t The Dishwasher Detergent Dissolve?
The Dishwasher Detergent Dissolve If the detergent in your dishwasher is

The Dishwasher Detergent Dissolve If the detergent in your dishwasher is
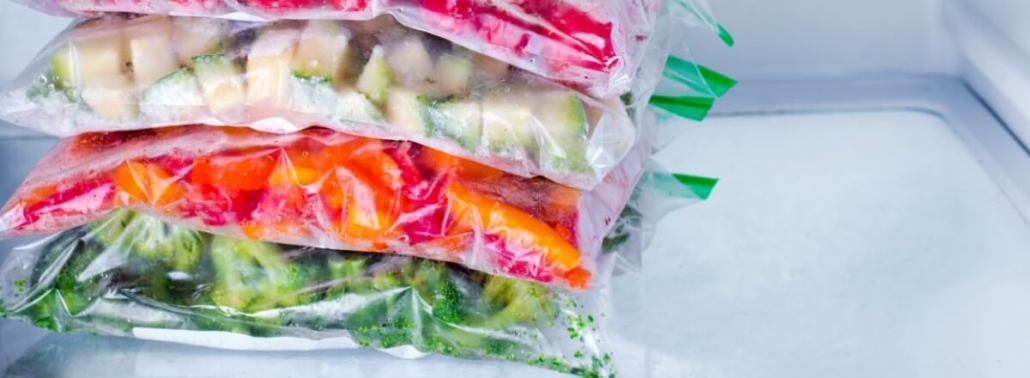
It makes sense if your freezer freezes your food. That’s expected,
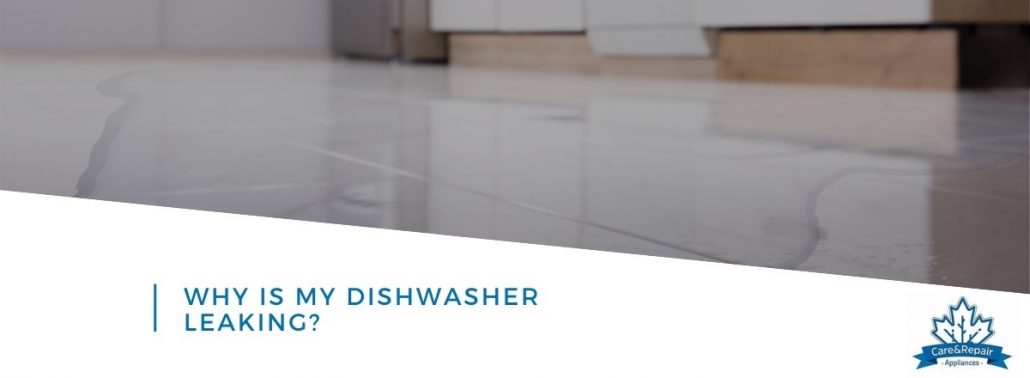
A leaky dishwasher is extremely problematic since this appliance relies on

Miele Dishwasher flashes Error Code F78.What does it mean? When an
[av_textblock size=” av-medium-font-size=” av-small-font-size=” av-mini-font-size=” font_color=” color=” id=” custom_class=” av_uid=’av-lxbxt78t’ admin_preview_bg=”]
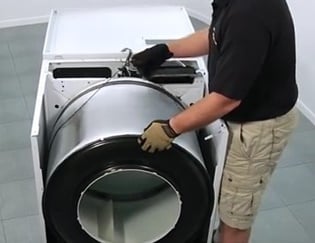
Most modern homes are equipped with a washer. This appliance is
If your fridge is making a strange noise, it can be
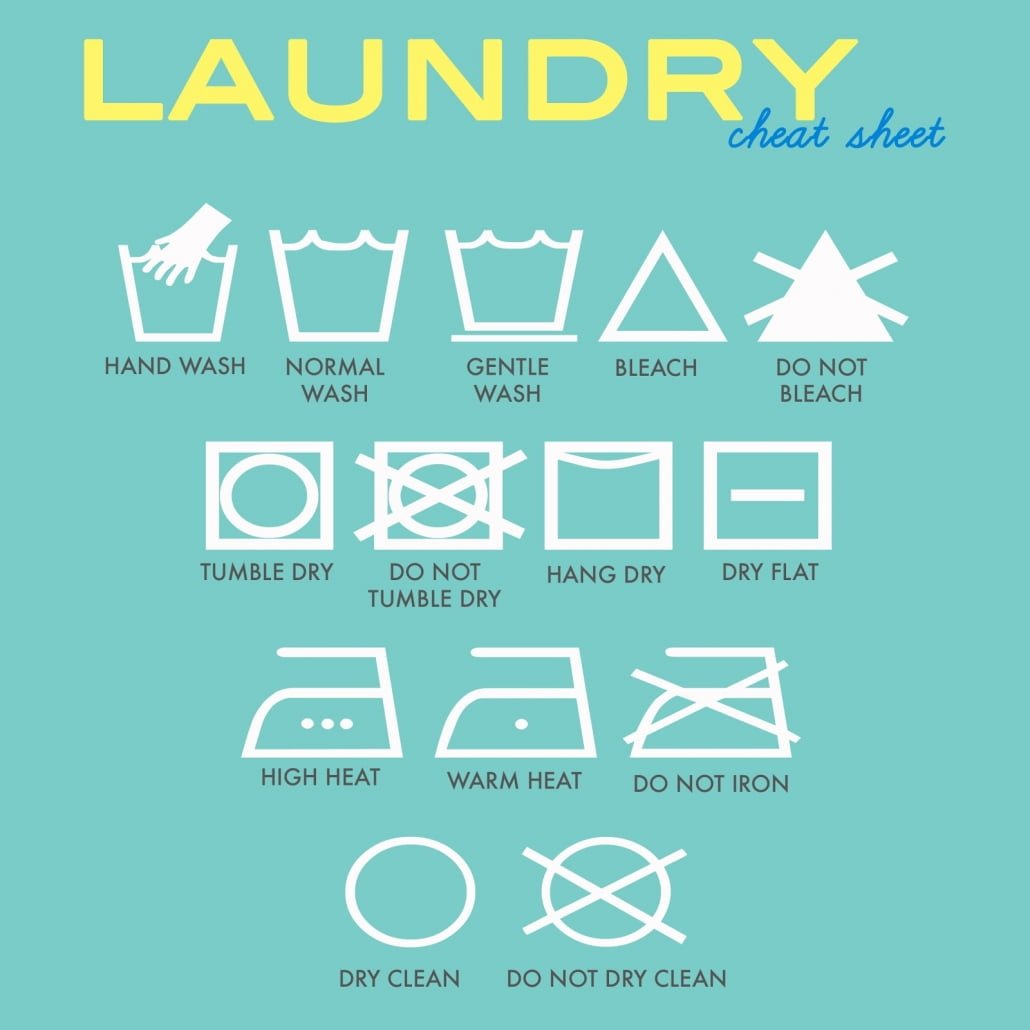
Laundry Symbol Cheat Sheet Laundry is such a burdensome thing to