How to fix oven when it is not heating
When your oven stops heating, this can become a huge problem. There are many reasons why this is happening. Below, we’ve presented a list of possible problems and instructions for their solving. If you fail to succeed in DIY repairs, do not fall in despair. You can always call our professionals who will repair the oven on the same day. A one-year warranty will be a pleasant bonus and the confirmation of the quality repairs.
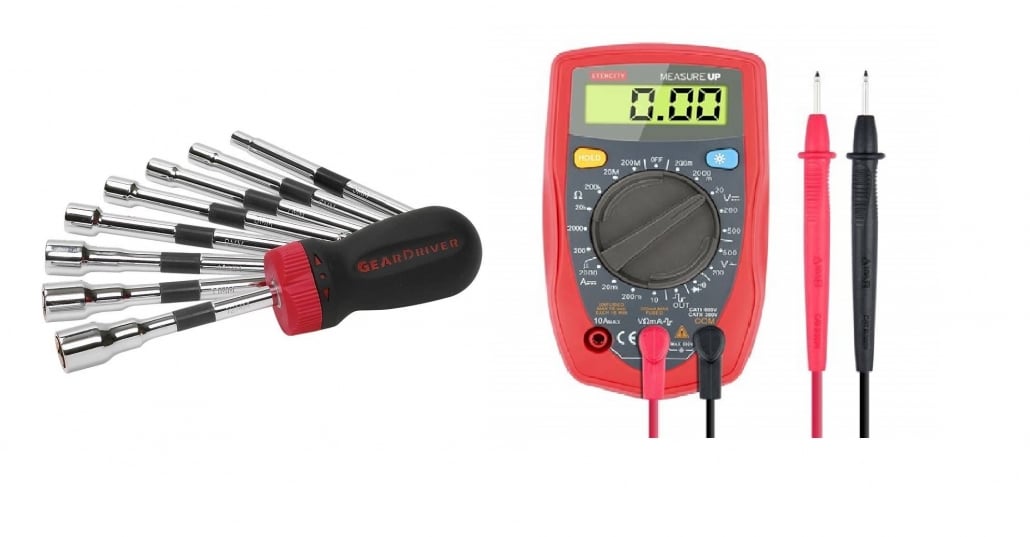
Required Tools
- Screwdriver set
- Wrench set
- Multimeter
Bake Element
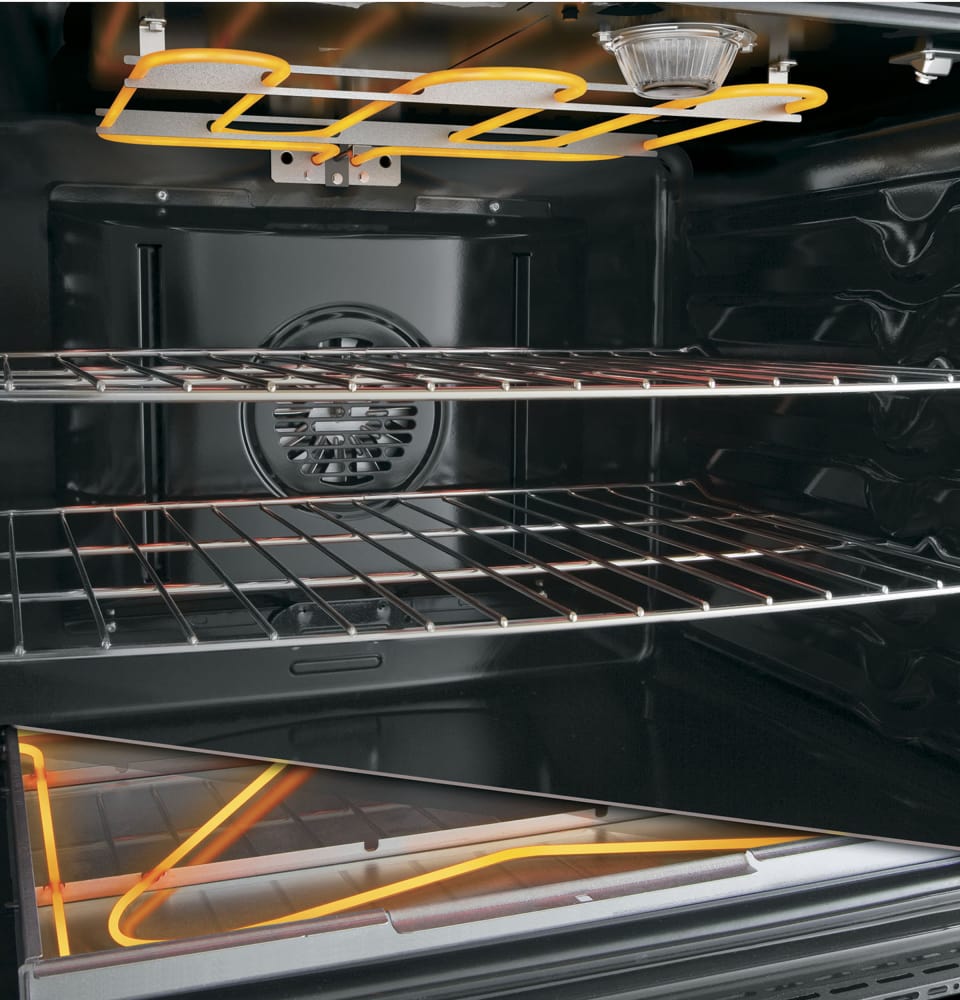
The bake element is commonly placed in the lower part of the oven. In the vast majority of electric ovens, it provides about 90% of all heating. In situations when the bake component doesn’t work, the oven cannot reach the max temperature in any way, or it will take it longer to get hot. To find out whether the baking unit is defective, check it carefully. If it does not look good, substitute it for a new one. When the component seems to be OK, start the baking function, and then turn it off after a minute. Inspect the bake component again – if it remains cold, it’s defective and also must be changed.
Diagnostics with the help of a multimeter:
- Disable the oven.
- With the help of a screwdriver and wrench set, put off the back panel. Look at the wires and try to find damaged ones.
- If visually everything is OK, then test the bake component with the multimeter.
- Set the multimeter at Rx1 and start testing.
- The correct indications are from 19 to 115.
- If the bake component lacks continuity or it is damaged, the replacement job should be done.
Oven Control Thermostat
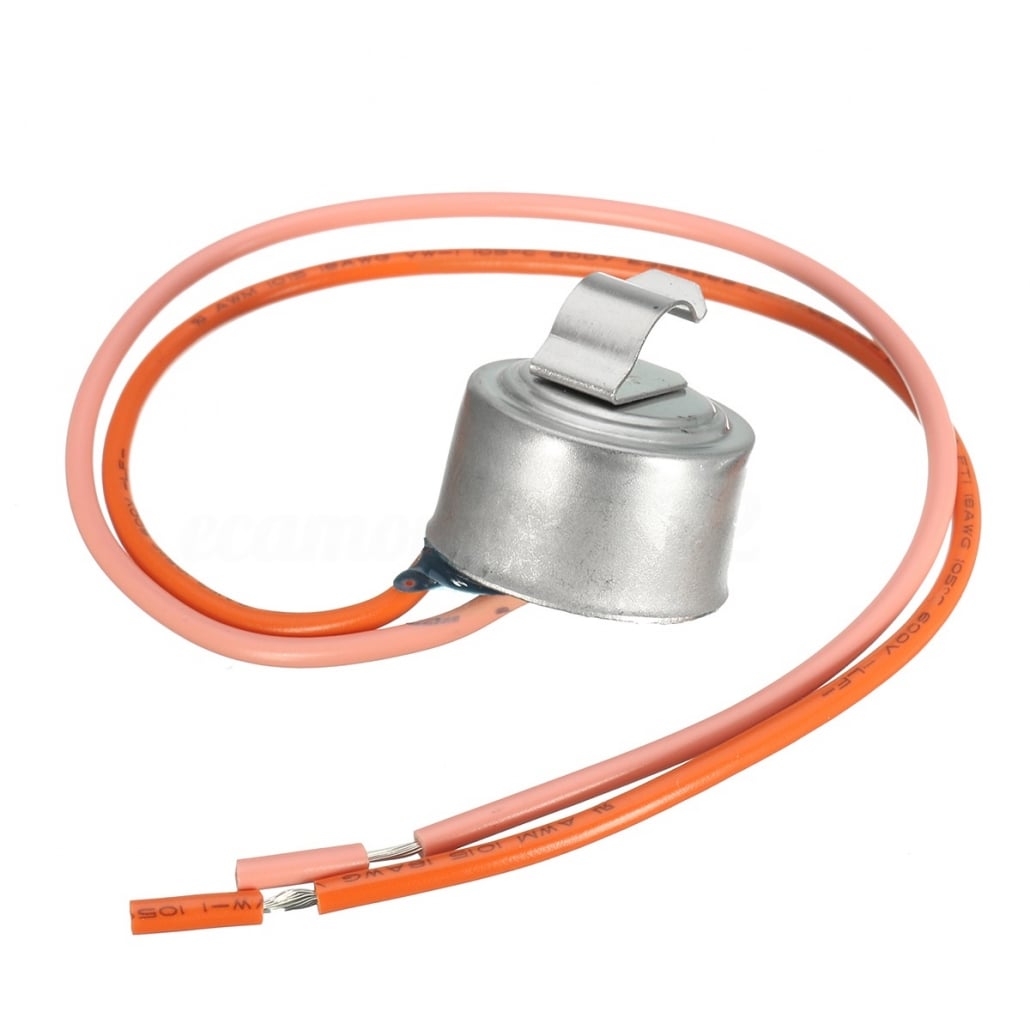
This unit regulates the work of the bake component. It is just a switch that supplies power. The damaged thermostat can result in very low or very high heat. However, it is rarely the case with the lack of heat. So, prior to replacing it, try to check all other elements for malfunction.
Diagnostics with the help of a multimeter:
- Unplug your oven.
- The unit should be near the control panel. Remove it accurately.
- After setting Rx1, start testing. The OK resistance is indicated in your owner’s manual.
- If the result differs from the indicated one, change the damaged part for a new one.
Temperature Sensor
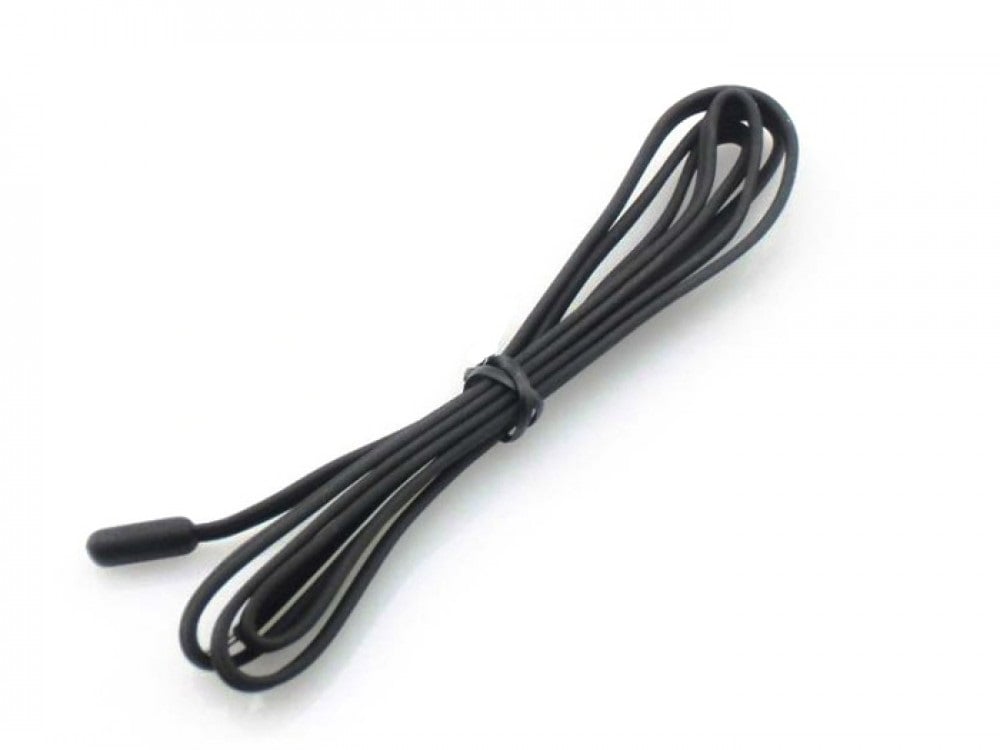
This sensor is a component that controls heat and forces the electrical controller to work properly. When this unit fails, the oven remains cold and doesn’t produce any heat at all.
Diagnostics with the help of a multimeter:
- The oven must be unplugged.
- The sensor will be on the upper part of the rear wall.
- Determine the proper reading data for your type of oven (the owner’s manual will help you in this).
- Change the multimeter’s settings to Rx1 and test the unit.
- If the result does not meet the numbers indicated in the owner’s manual, the part must be replaced.
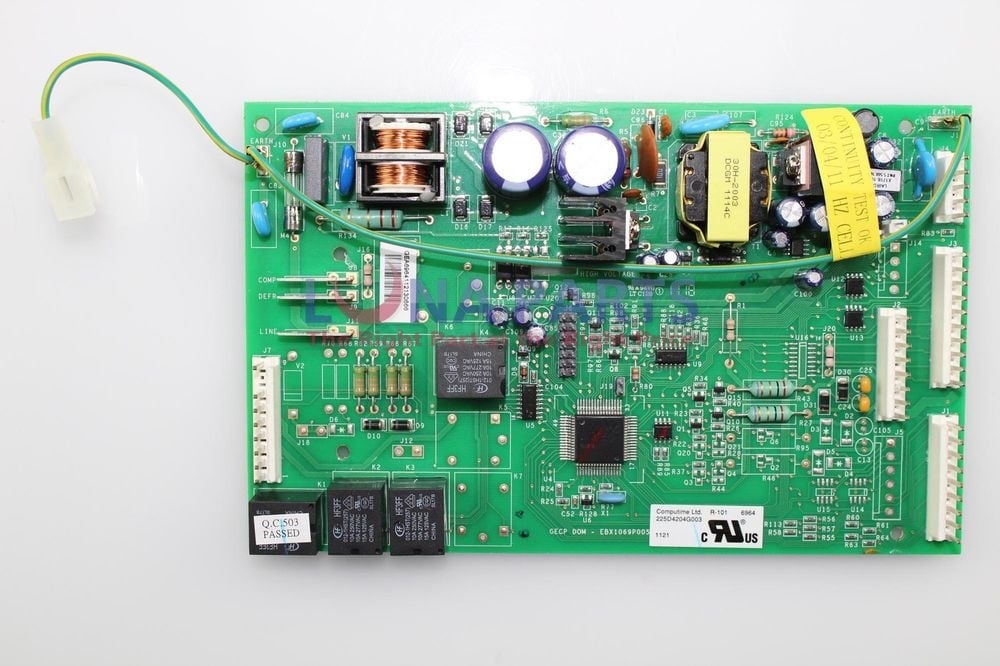
Electronic Control Board
Almost all ovens use this component to control their main functions. If the unit isn’t working well, the oven in its turn cannot heat.
How to make the diagnostics of this one:
- Turn off the power before monitoring.
- The thing you are looking for is behind the control panel. Disassembling with the help of a screwdriver set is required for access. After you find the unit, remove it.
- Inspect it for signs of any damage.
- If any sign of damage has been found, replace the whole assembly.
Fuses
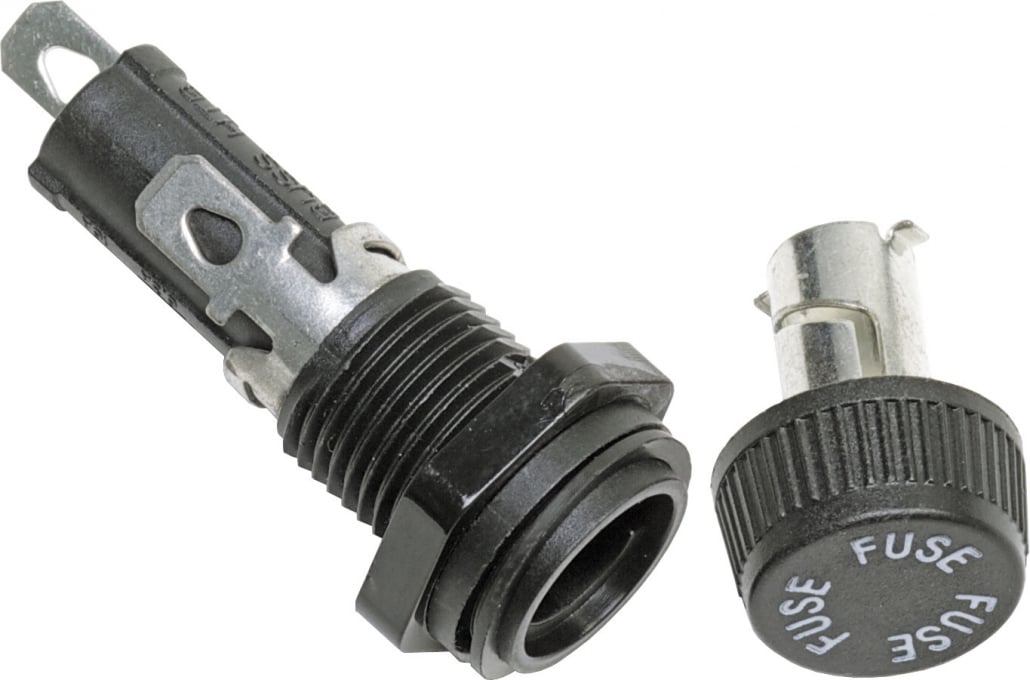
If internal fuses are used in the oven, they may be the reason why it’s cold inside it. The problem of bad fuses should be solved to make your oven working again. If a fuse is damaged, the oven element and the wiring connected to the fuse should be checked too. The damaged fuse must be replaced.
- Firstly, disable the appliance.
- Find out which fuse needs an inspection. The owner’s manual will help to indicate their position.
- Look at the fuse through a magnifier. If the fusible link is in a bad shape, replace this unit.
Igniter
This part is considered being the most common problem of ovens’ malfunctioning. The unit fulfills two important functions:
- It opens the oven’s safety valve.
- It turns hot enough to fire the burner.
A bad igniter does not allow the valve to be 100% opened. Because of this, there may be not enough heat. If the fuel isn’t fired over 90 seconds after the start of the igniter, the latter should be indicated bad and replaced. For cases when the unit does not show signs of ignition at all, examine it with a multimeter. If the continuity is breached, replace it.
Bake or Broil Spark Electrode
This part is used for gas ignition. The electrode is located near the burner and works like a spark plug. Due to electricity, a spark accumulates on the tip of the electrode and makes the fuel burn. If the electrode has problems in the functioning, the spark may be absent. Visually inspect the module for cracks or defects. If you find something of these, replace the whole assembly.
Broil Element
Examine the broil component (element) for possible blisters or holes. In cases when the broil component heats up properly, it glows red. If the component doesn’t turn red in any way, it means that the one isn’t warming up. The damage of the broil component can be detected visually. For further diagnostics, use a multimeter and test the continuity. If it is breached, this unit should be changed.
Incoming Power Problem
Electric ovens need 120 AC. For gas-fueled ones, this is about 120. If your oven has no signs of heating, a power issue may arise. A multimeter should be used to monitor the incoming AC.
Loose or Burnt Wire Connection
The problem may hide in cables powering the oven. These cables usually receive damage in a place near the source of heat. Check them visually. If they have any damage, this can be detected without a problem.
Relay Board
Modern ovens are sometimes equipped with such a device. This part has relays to control the supply which goes to the heating component. When even one of the relays is not working, a lack of heat can be observed. Replacement of the whole relay board will be a solution.
Safety Valve
This unit works in a combination with the igniter to safely supply gas to the burner. If it fails, the oven remains as cold as ice. But this is an extremely rare case. Before changing the safety valve, always look for more common oven problems, especially connected with the igniter. If all other units work well, check the power supply with a multimeter. If it is breached, replace this part.
Thermostat
This thermostat controls the broiling heat. Any trouble with the broiler can be caused by the thermostat. This oven unit is placed in a special tube attached to another tube that sticks inside the oven. This part is complicated to inspect and almost impossible to repair. If this is the main reason for malfunctioning, the thermostat must be changed for a new one.
-
1
 Call Us
 -
2
 Get a Quote On-Site
 -
3
 Get Your Appliance Fixed
 -
4
 Visa | Cash | MasterCard
 -
5
 Enjoy Your Day

